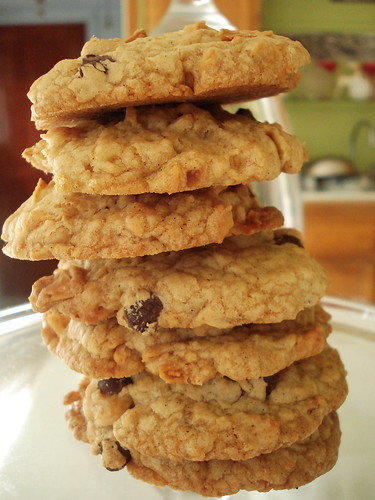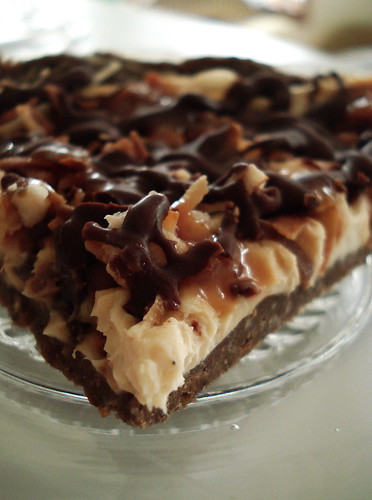
Front and Center, originally uploaded by miss.mallory.
I've been out of the the (food blogging event) loop for a little over a year now. A lot of my life was shaken up by enrolling in college, especially the blogging part. It has taken me quite some time to get back in the swing of things, some areas still need attention, but I'm beginning to adjust and really find a routine in my 'new' life (although, it's not so new anymore).
Food blogging events are so satisfying. I love them for the same reason I love my cooking/dinner group; they inspire one to get in the kitchen and get creative. They may not always be recipes, or ingredients you haven't worked with in the past, but sometimes I find that even more exciting. How do you take something you've made (sometimes a hundred times) and make it different, thrilling, and new?
Rosie and Maria over at sweet and simple bakes gave food bloggers the opportunity to do just that, with their baking challenge this month. I didn't get it together in time to participate in their cherry bakewll tart challenge last month, but I knew I could whip up a batch of their oatmeal and chocolate chip cookies no problem. Which got me thinking, 'how can I take my chocolate chip oatmeal cookies to the next level so they may stand out among the pack'. After our cooking clubs dinner on Saturday, our dessert left a pint of an amazing vegan vanilla ice cream made with coconut milk. It's so rich and dreamy. It got me thinking about my favorite ice creams, one being ben and jerry's oatmeal. A cinnamon sweet cream ice cream with chunks of oatmeal cookie and chocolate. *ding* lightbulb *ding*. That was it. Oatmeal chocolate cookies, with oatmeal chocolate chip cookie ice cream. So I set off to the grocery store, to buy a bag of ghirardelli chocolate chips and a pint of ben and jerry's. I didn't want to make the lovely coconut ice cream feel bad either, so I used both (in separate sandwiches of course). The result was divinity. Cookies, ice cream, plenty of oats, sugar and chocolate with some toasted coconut and cinnamon sugar tossed in? Yum!
So thank you to Rosie and Maria for this great challenge, I sure had a lot of fun with it!

Sifting., originally uploaded by miss.mallory.
Recipe : Oatmeal Chocolate Chip Cookies
Ingredients
110g (4oz) butter, softened
110g (4oz) caster sugar
110g (4oz) soft brown sugar
1 egg
2 tbsp water
1 tsp vanilla extract
250g (9oz) porridge oats (rolled oats)
110g (4oz) self-raising flour
1 level tsp salt
110g (4oz) chocolate chips, raisins or chopped nuts
1 pint of your favorite ice cream (I used Bliss Vanilla Vegan Ice Cream and Ben and Jerry's Oatmeal Cookie Ice Cream)
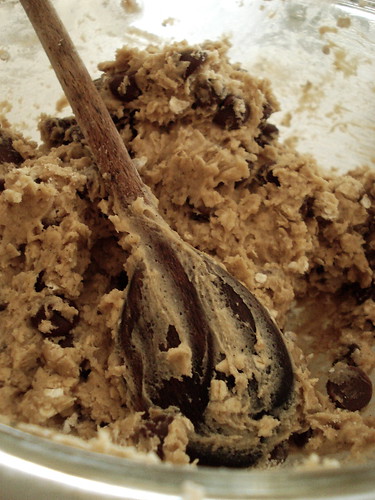
Mixing in the final ingredients., originally uploaded by miss.mallory.
Directions:
Preheat the oven to 350 F. Cream the butter in a large bowl or in an electric food mixer until soft. Add the sugars and beat until the mixture is light and fluffy. Add the egg, water and vanilla extract while still beating. Reduce the speed and gently mix in the oats, flour, salt and raisins to form a dough. Using your hands, roll the dough into walnut sized balls and place slightly apart on two baking trays. Bake in the oven for 12-25 minutes or until light golden brown but still slightly soft in the centre. Allow to cool on the trays for a minute before transferring to a wire rack to cool.
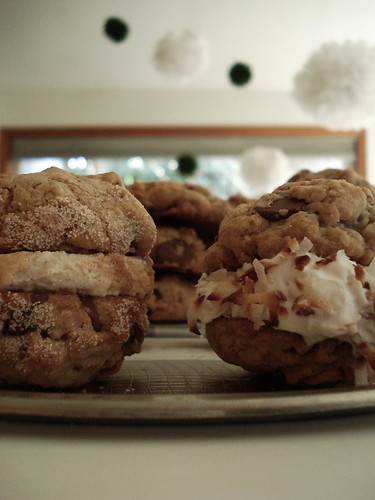
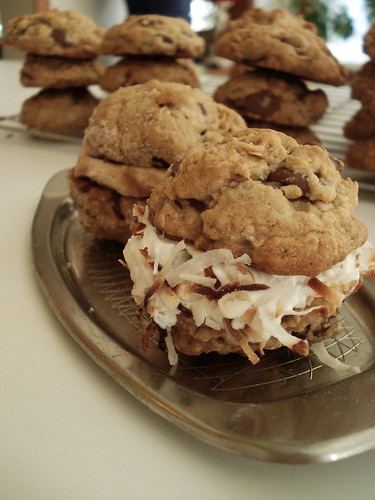
With a small scoop place a generous tablespoon of ice cream between the bottom of two cookies, sandwich together and garnish edges (I used cinnamon sugar on the oatmeal cookie ice cream and toasted coconut on the vegan ice cream).
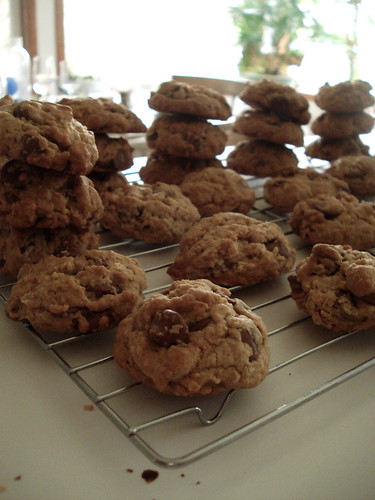
Fresh from the oven., originally uploaded by miss.mallory.
These little gems would be perfect for a warm spring or summer treat.
Enjoy!
P.S. I'm posting a few more pics than usual. Clearly, I was excited about these cookies!
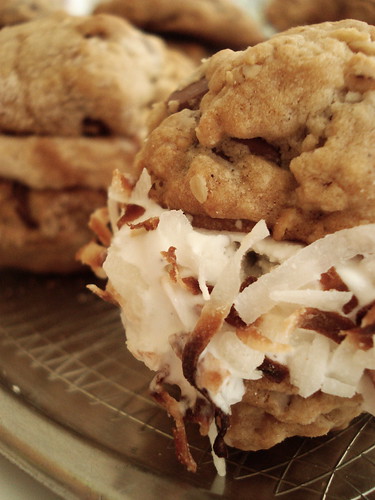
Toasted Coconut : Vegan Vanilla Ice Cream : Cookie Bliss, originally uploaded by miss.mallory.
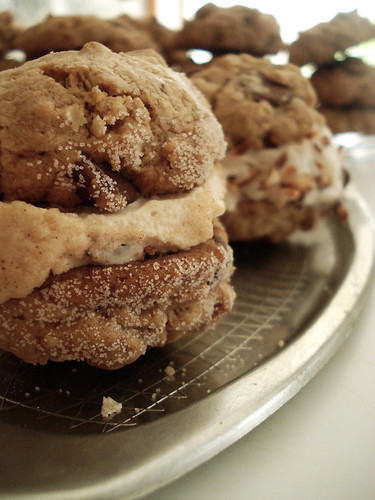
Cinnamon Sugar : Oatmeal Cookie Ice Cream, originally uploaded by miss.mallory.
A view from the frontlines., originally uploaded by miss.mallory.

Oozing., originally uploaded by miss.mallory.